Monday, December 23, 2019

Jalapeno Popper Ham Chowder

Yum
My second entry into the Clifty Farm Blogger Recipe Challenge is the perfect thing to warm up with on a chilly day.  This Jalapeno Popper Ham Chowder has little bit of spice and a ton of flavor! Don't let the amount of jalapenos scare you- the cream cheese and milk in this super creamy chowder tames the heat and my kids had no problem eating two bowls each! 
If you can't find the package crispy fried jalapeno pieces at your store feel free to sub them with crispy french fried onions instead (you know, the type you sprinkle on top of classic green bean casserole)  for that delicious crispy topping- it will be equally delicious!

Jalapeno Popper Ham Chowder
4 Tablespoons butter
1 large onion, chopped
4 large jalapenos, seeds removed and chopped
4 large cloves garlic, minced
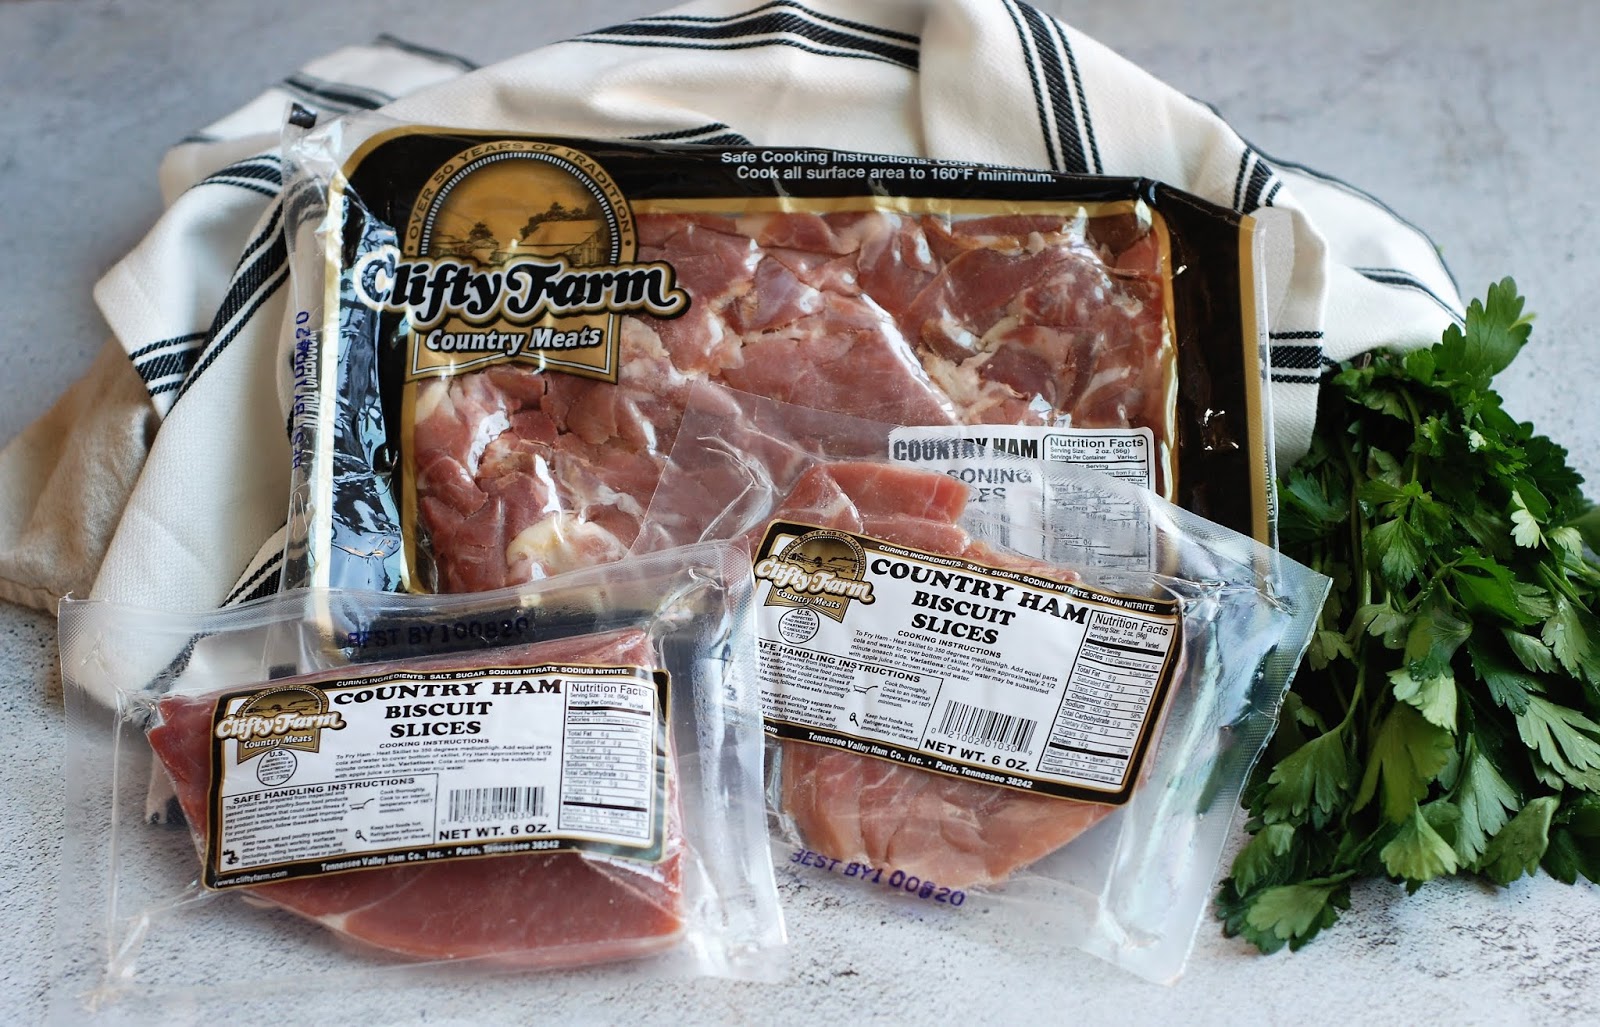
1 package (2 pounds) Clifty Farm Country Ham Seasoning Pieces (or 2 pounds cubed ham)
2 Tablespoons flour
1 ½ cup chicken stock
2 cups milk
8 ounces room temperature chive and onion cream cheese spread
¼ teaspoon pepper
¼ teaspoon garlic salt
¼ cup packaged crispy fried jalapeno pieces

Melt the butter over medium heat in a large dutch oven. Add the chopped onion and sauté for 7-10 minutes. Add the jalapeno and garlic and continue to cook until the vegetables are tender. 

Add the Country Ham Seasoning Pieces and fry for 8-10 minutes. Sprinkle the flour over the ham and continue to cook for 3 minutes, or until the flour has been completely absorbed.

Whisk in the chicken stock, milk, cream cheese, pepper and garlic salt and bring the mixture up to a simmer. Allow the mixture to cook for 10 minutes, stirring occasionally until thickened.

To serve, ladle the soup into bowls and top with crispy fried jalapeno pieces.


Serves 6

You can follow Clifty Farm to find out more about their products and free recipe ideas on their Website, on Facebook and Instagram. There's also a $1 off Coupon Link for you to download too! 

#CliftyFarm #countryham #southerncooking

Saturday, December 21, 2019

Hasselback Ham and Cheese Garlic Bread

Yum

Can you really ever have enough super simple appetizer ideas in your back pocket? I really don't think so. Whether it's for Christmas, New Years or Super Bowl I think my Hasselback Ham and Cheese Garlic Bread is just the thing! It's delicious, impressive and super easy -sure to impress at your next get together!  Who doesn't love garlic bread? Combine that with classic ham and cheddar cheese and you get this gooey pull apart bread that can feed a crowd. This is my first entry for the Clifty Farm Blogger Recipe Challenge and I guarantee you if you make this, it will disappear fast!

Hasselback Ham and Cheese Garlic Bread
1 baguette
6 ounces extra sharp cheddar cheese, thinly sliced
1 stick (8 Tablespoons) butter
4 large cloves garlic, minced
1 teaspoon garlic powder
1 Tablespoon minced chives

Preheat the oven to 350°F.
Slice the bread into 1/2-inch slices crosswise, without slicing all the way through. (Leave about 1/4 inch intact at the bottom.)
Prepare a sheet pan with one large long piece of aluminum foil long enough to wrap the entire loaf in.
Place the bread on top of the aluminum foil on the baking sheet. Alternate placing pieces of ham and cheese slices in the cuts of the bread.
In a small sauté pan melt the butter over medium heat. Once the butter is melted, reduce the heat to low and add the minced garlic. Sauté for 3 minutes. Whisk in the garlic powder and chives. Pour the mixture evenly over the bread loaf.
Fold the foil closed and place the bread in the oven for 12-14 minutes or until the cheese has melted. Serve immediately.
Serves 8-10
You can follow Clifty Farm to find out more about their products and free recipe ideas on their Website, on Facebook and Instagram. There's also a $1 off Coupon Link for you to download too! 

#CliftyFarm #countryham #southerncooking

Wednesday, December 11, 2019

Pear and Pepper Jelly Blue Cheese Tart

Yum
This is my second entry into the USA Pears Blogger Challenge!
My Pear and Pepper Jelly Blue Cheese Tart is absolutely gorgeous and loaded with decadent holiday flavors. With only 6 ingredients and less than 30 minutes to throw together this may be your new go to appetizer for the season!


Pear and Pepper Jelly Blue Cheese Tart
1 sheet of puff pastry, defrosted 
2 ½ ounces garlic and herb flavored spreadable cheese, at room temperature
1 large ripe Red Anjou pear, thinly sliced
1 egg yolk beaten with a splash of water
¼ cup jalapeno pepper jelly
2 Tablespoons crumbled blue cheese

Preheat the oven to 400 degrees and line a large cookie sheet with parchment paper.
Place the Puff Pastry sheet onto a lightly floured board and lightly flatten with a rolling pin. Poke a few holes with a fork down the center of the pastry. With an offset spatula, spread the garlic and herb cheese in the center of the dough leaving a ½ inch rim around the edges.  Refrigerate for 10 minutes.  
Remove from the refrigerator and arrange the pear slices in rows, slightly overlapping on top of the cheese.  Brush the edges with the egg yolk and bake for 15 to 20 minutes or until golden brown.
Remove from the oven and brush the pear slices with the pepper jelly. Sprinkle with the blue cheese crumbles and serve.

Makes 9 servings.

 #usapears #cookingwithpears @usapears 

Monday, December 9, 2019

Little's Lunches

Yum


Hey there! Happy Monday!
We are back in the swing of things after Thanksgiving week off and here are the lunches I packed with a very empty fridge and no energy to go to the store while unpacking and washing what felt like everything we ever owned after getting back home. While on vacation we bought a lot of sliced cheese and lunch meat for sandwiches but we never ended up being at the rental house long enough to use it so I froze it all and I am SO glad I did that- it saved me last week! My kids recently are obsessed with the sandwich rounds that I used in place of traditional sliced bread- they're just really thin wheat bread rounds that I've seen at almost every grocery store I've ever been to. Look for them if you can- they're really yummy!
Monday: colby jack cheese, cheese tortellini, cucumber slices, black olives, raspberries, BBQ Ranch, oranges

Tuesday: Colby Jack and Ham on a Sandwich Thin,  cheddar cheese star crackers, pickles and black olives, orange wedges

Wednesday: deli sliced ham, purple grapes, cucumber slices, caesar dressing, baby tomatoes and black olives, cornbread cracker sticks

Thursday: Turkey and Meunster Sandwich Thins, cucumber slices, black olives, carrot sticks, ranch, dried pears


Friday:  Chef Salad (romaine, ham, shredded cheddar cheese, tomatoes), raisins, cheddar cheese star crackers, orange slices


I use Yumbox (here) lunchboxes and I love them! They make it SO easy to put lunches together, keep everything separated and are leak proof!! Also, the little Animal Food Picks (here) keep things cute and so colorful!! These Sistema dip containers are the perfect size to include wet or runny items to dip into. I frequently use these Silicone muffin cups to separate items that aren't exactly messy but I still want to keep from touching everything else in the box. The height of the dip containers and muffin cups are perfect in the Yumbox Panino and the Yumbox Original


*Disclosure: This post contains affiliate links, which means, at no additional cost to you I can earn a commission on purchases made through my site

Friday, December 6, 2019

Maple Pecan Pear Cake with Maple Cream Cheese Icing

Yum
I think every Friday should involve cake, don't you?
This Maple Pecan Pear Cake is loaded with chunks of juicy pears, crunchy pecans and the perfect amount of maple syrup. The only thing that could make this cake any better is the maple syrup cream cheese icing on top. Since it pairs so perfectly with a cup of coffee, I won't even judge if you have this for breakfast!

Maple Pecan Pear Cake with Maple Cream Cheese Icing

Maple Pecan Pear Cake
1 cup vegetable oil
1 cup vanilla Greek yogurt
4 eggs
1 Tablespoon vanilla
¾ cup maple syrup
¾ cup lightly packed light brown sugar
1 Tablespoon baking powder
1/2 teaspoon baking soda
1/2 teaspoon salt
2 teaspoons cinnamon
3 cups all-purpose flour
2 Bartlett Pears, finely chopped
1 Bartlett Pear, shredded
1 cup chopped toasted pecans

Preheat the oven to 350 degrees and spray a Bundt pan generously with non-stick baking spray.

In a large mixing bowl whisk together the oil, Greek yogurt, eggs, vanilla, maple syrup and brown sugar.

Add the baking powder, baking soda, salt and cinnamon and whisk until combined. With a spatula, gently fold in the flour, chopped and shredded pears and the pecans just enough for the mixture to come together but being very careful not to over-mix. 

Pour the batter into the prepared pan and bake for 1 hour, or until a toothpick in the center comes out clean. 

Let the cake cool in the pan for 20 minutes.

Remove the cake from the pan and transfer to a wire rack to cool completely. 

While the cake is cooling, prepare the icing:

Maple Cream Cheese Icing
1 ½ cups powdered sugar
3 Tablespoons room temperature butter 
2 ounces room temperature cream cheese 
¼ cup maple syrup
1 Tablespoon vanilla coffee creamer

In a small mixing bowl beat the powdered sugar, butter, cream cheese, maple syrup and coffee creamer until smooth. Once the cake has fully cooled, drizzle the icing over the cake. Serve immediately. 


Serves 12-14


 #usapears #cookingwithpears @usapears 

Sweet and Spicy Coconut Shrimp Tropical Flatbread

My second entry for Sam's Fresh Salsa Blogger contest only has 8 ingredients, takes less than 20 minutes from start to finish to make an...